


Amazing design with some problems
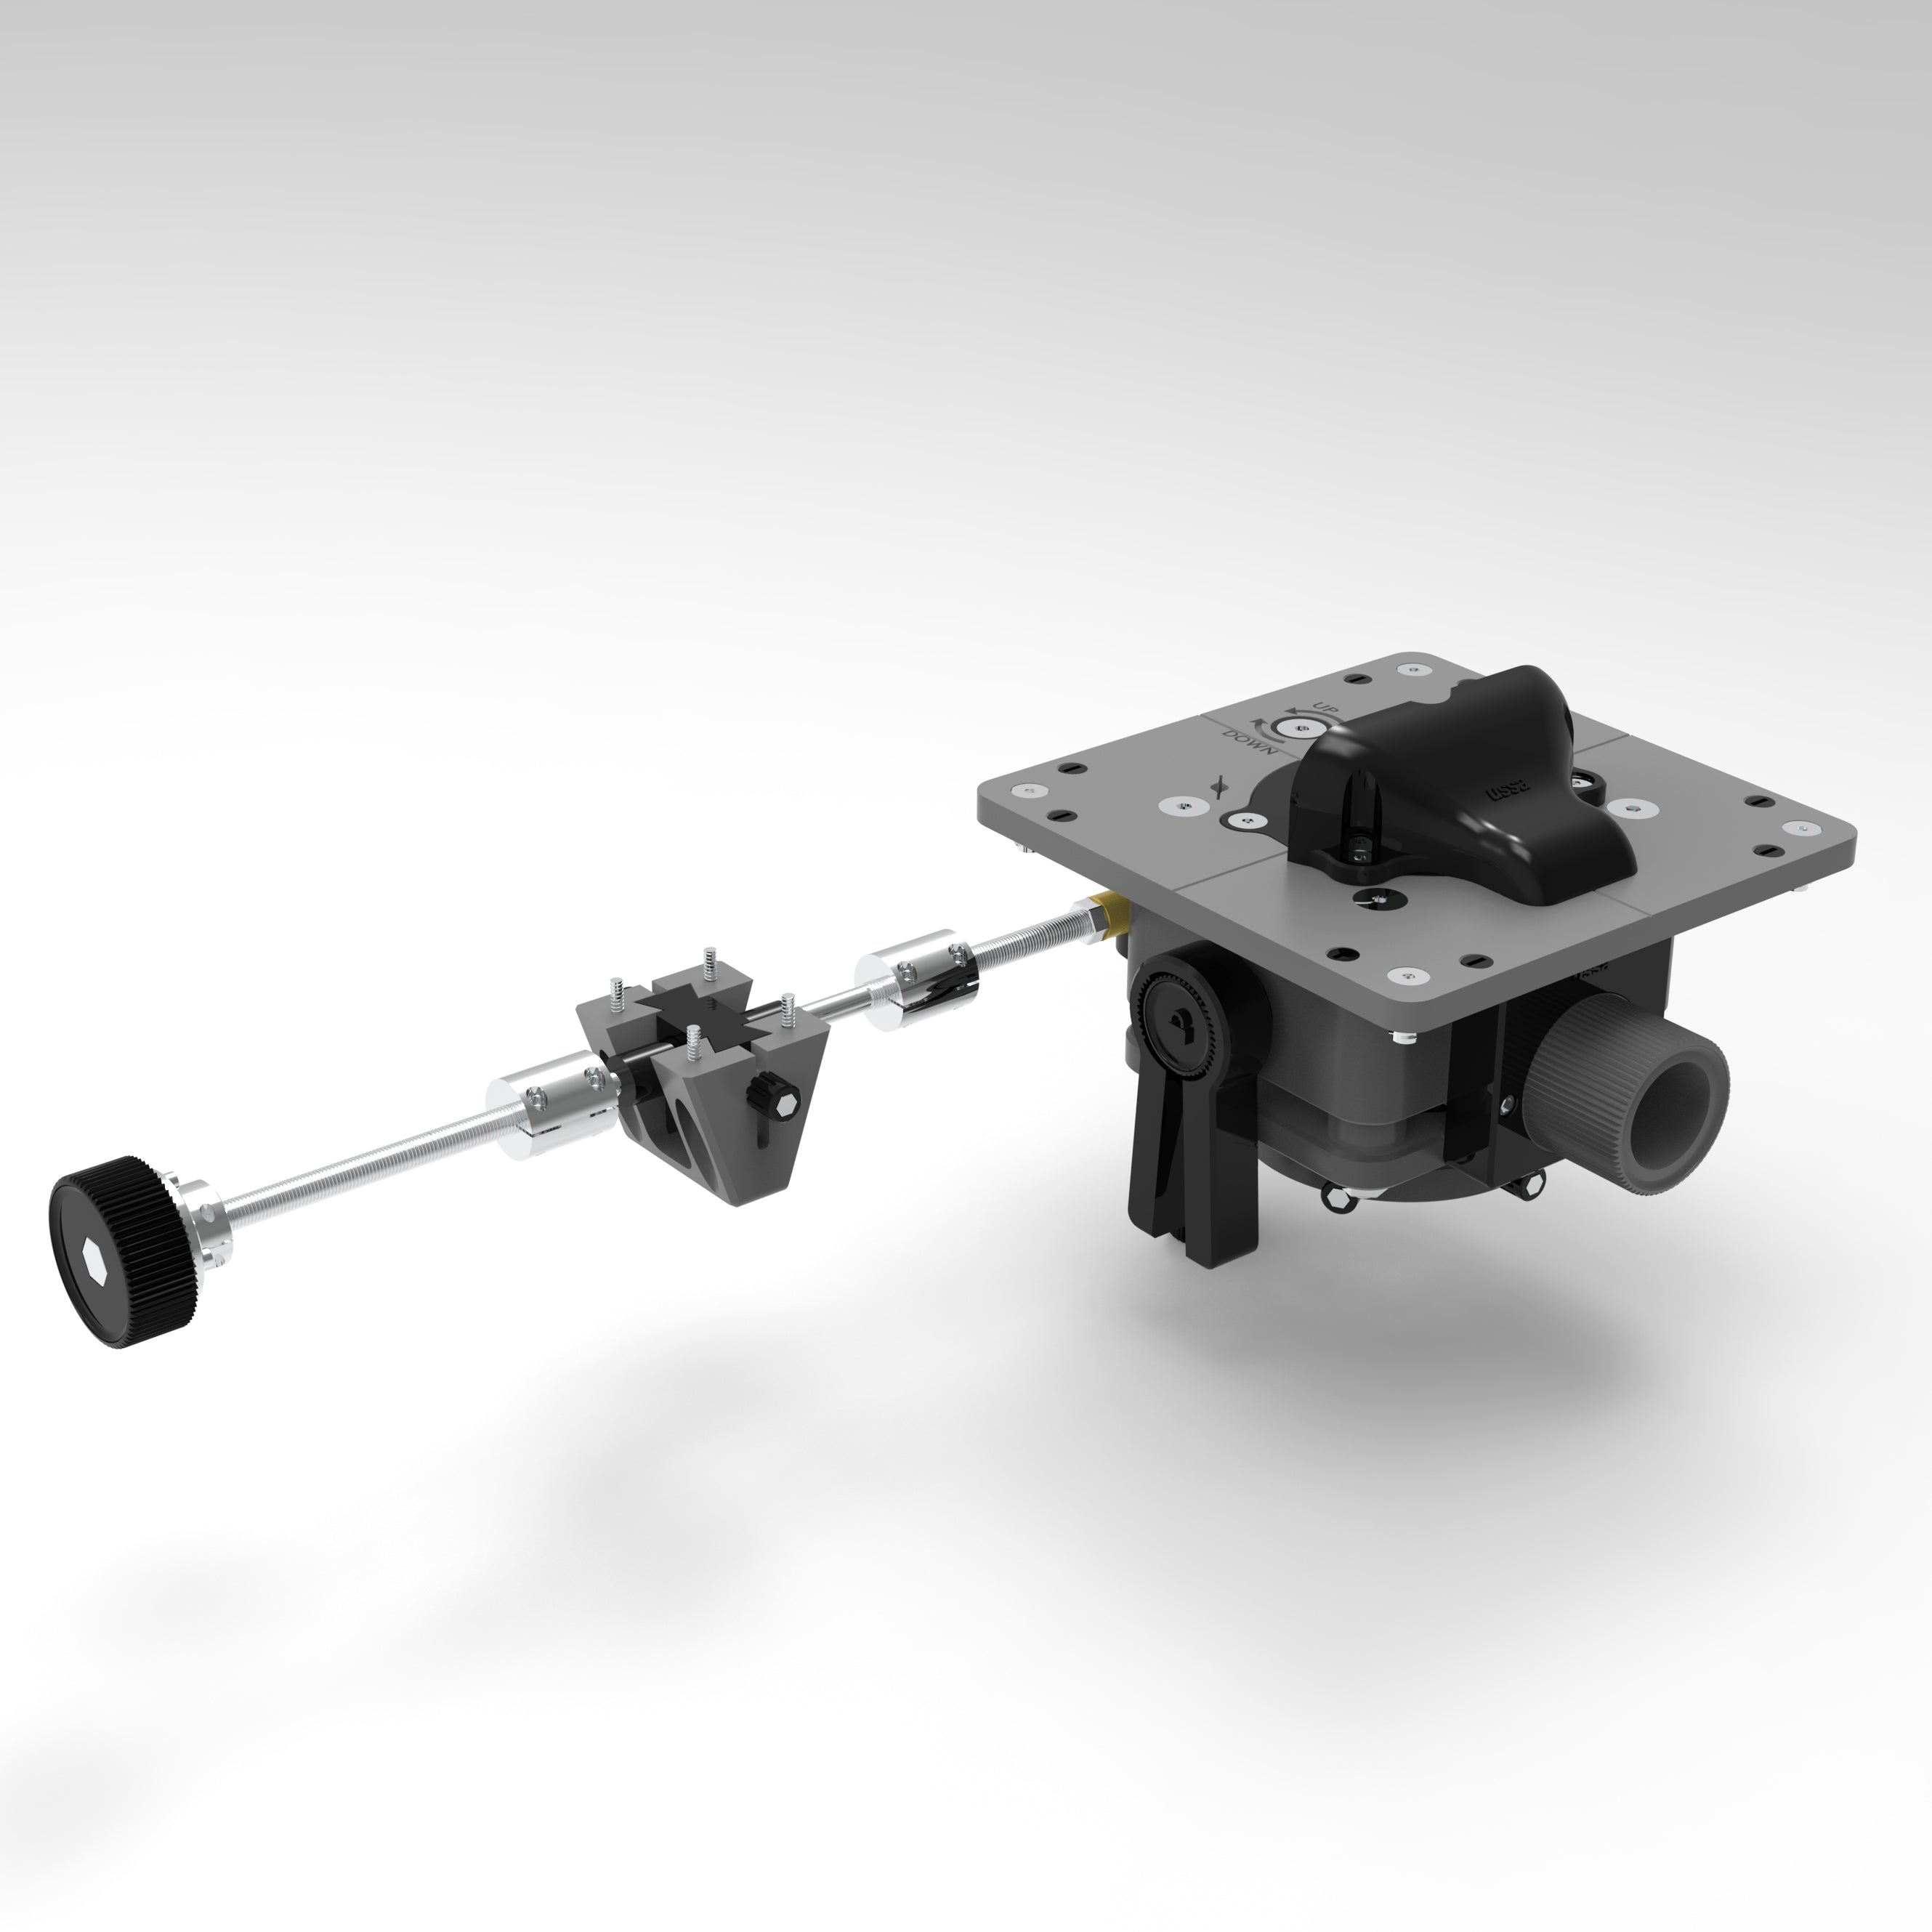
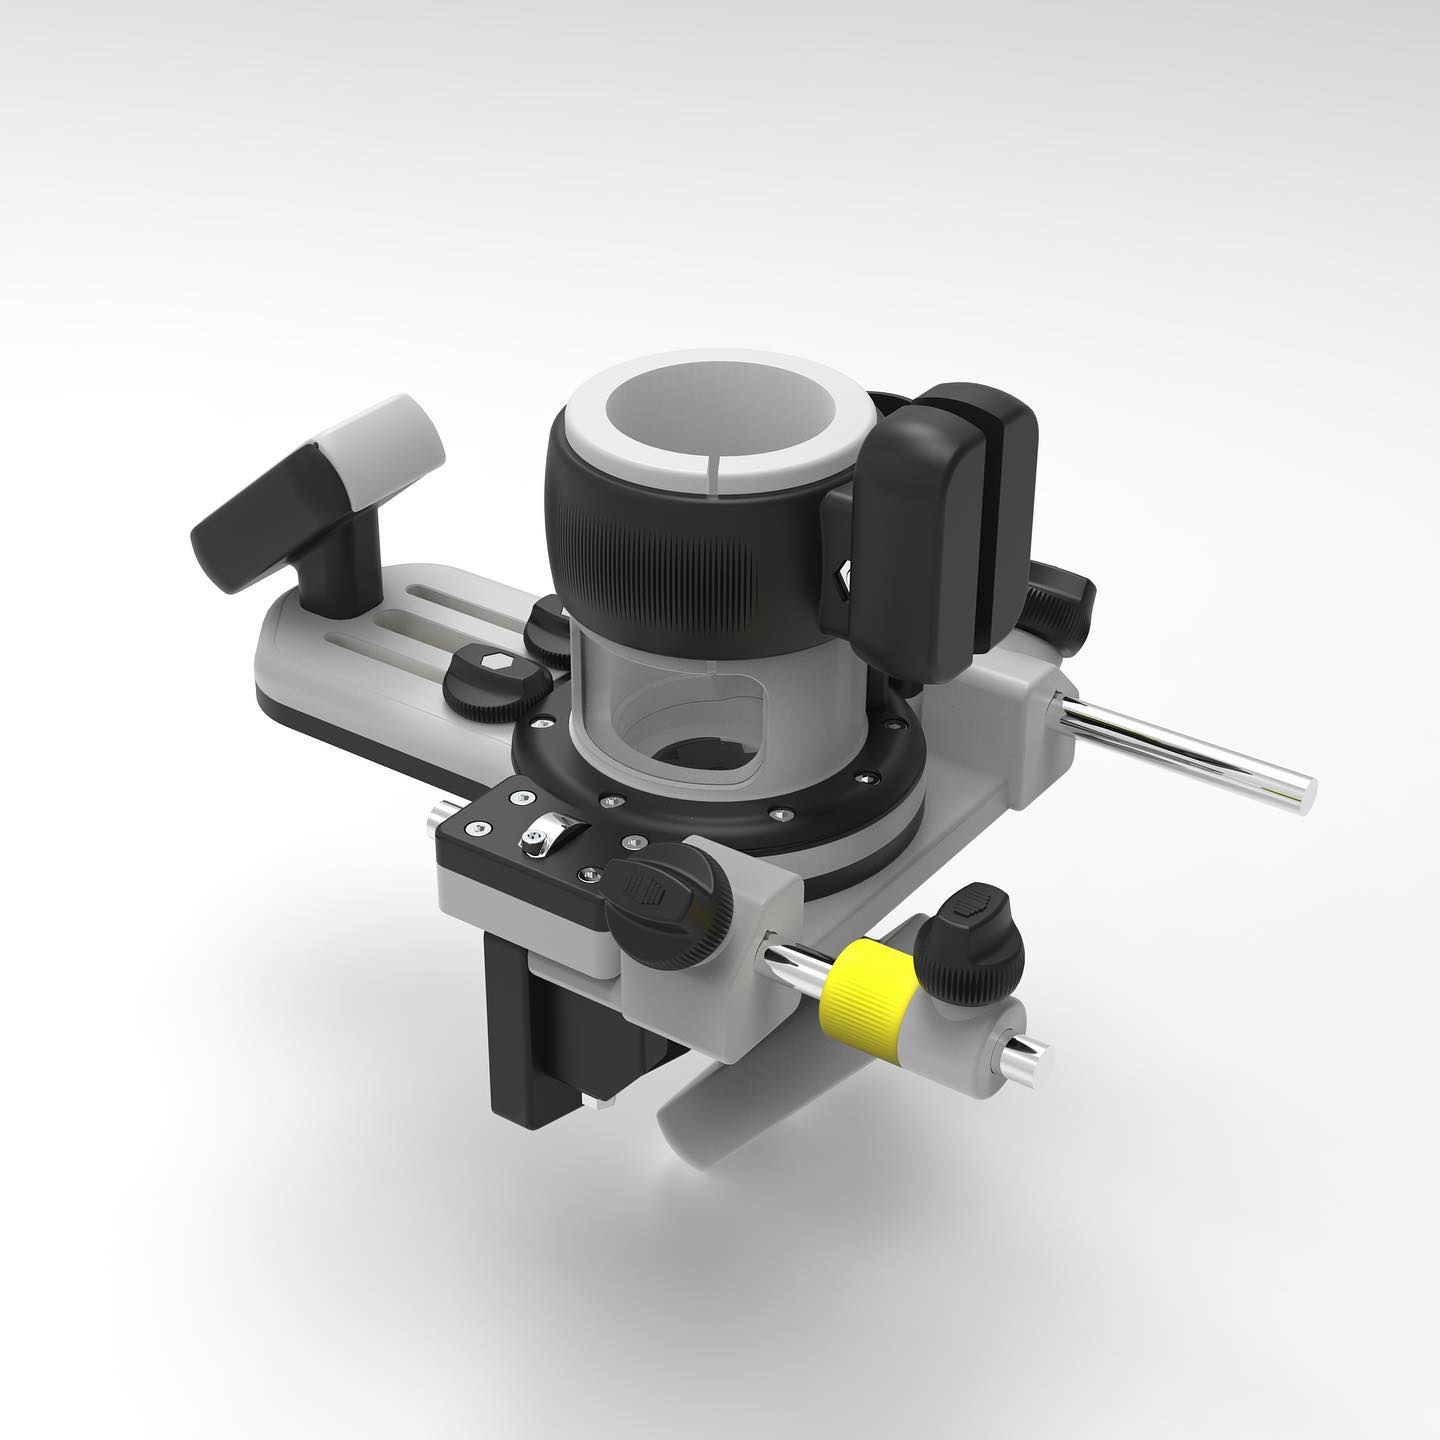
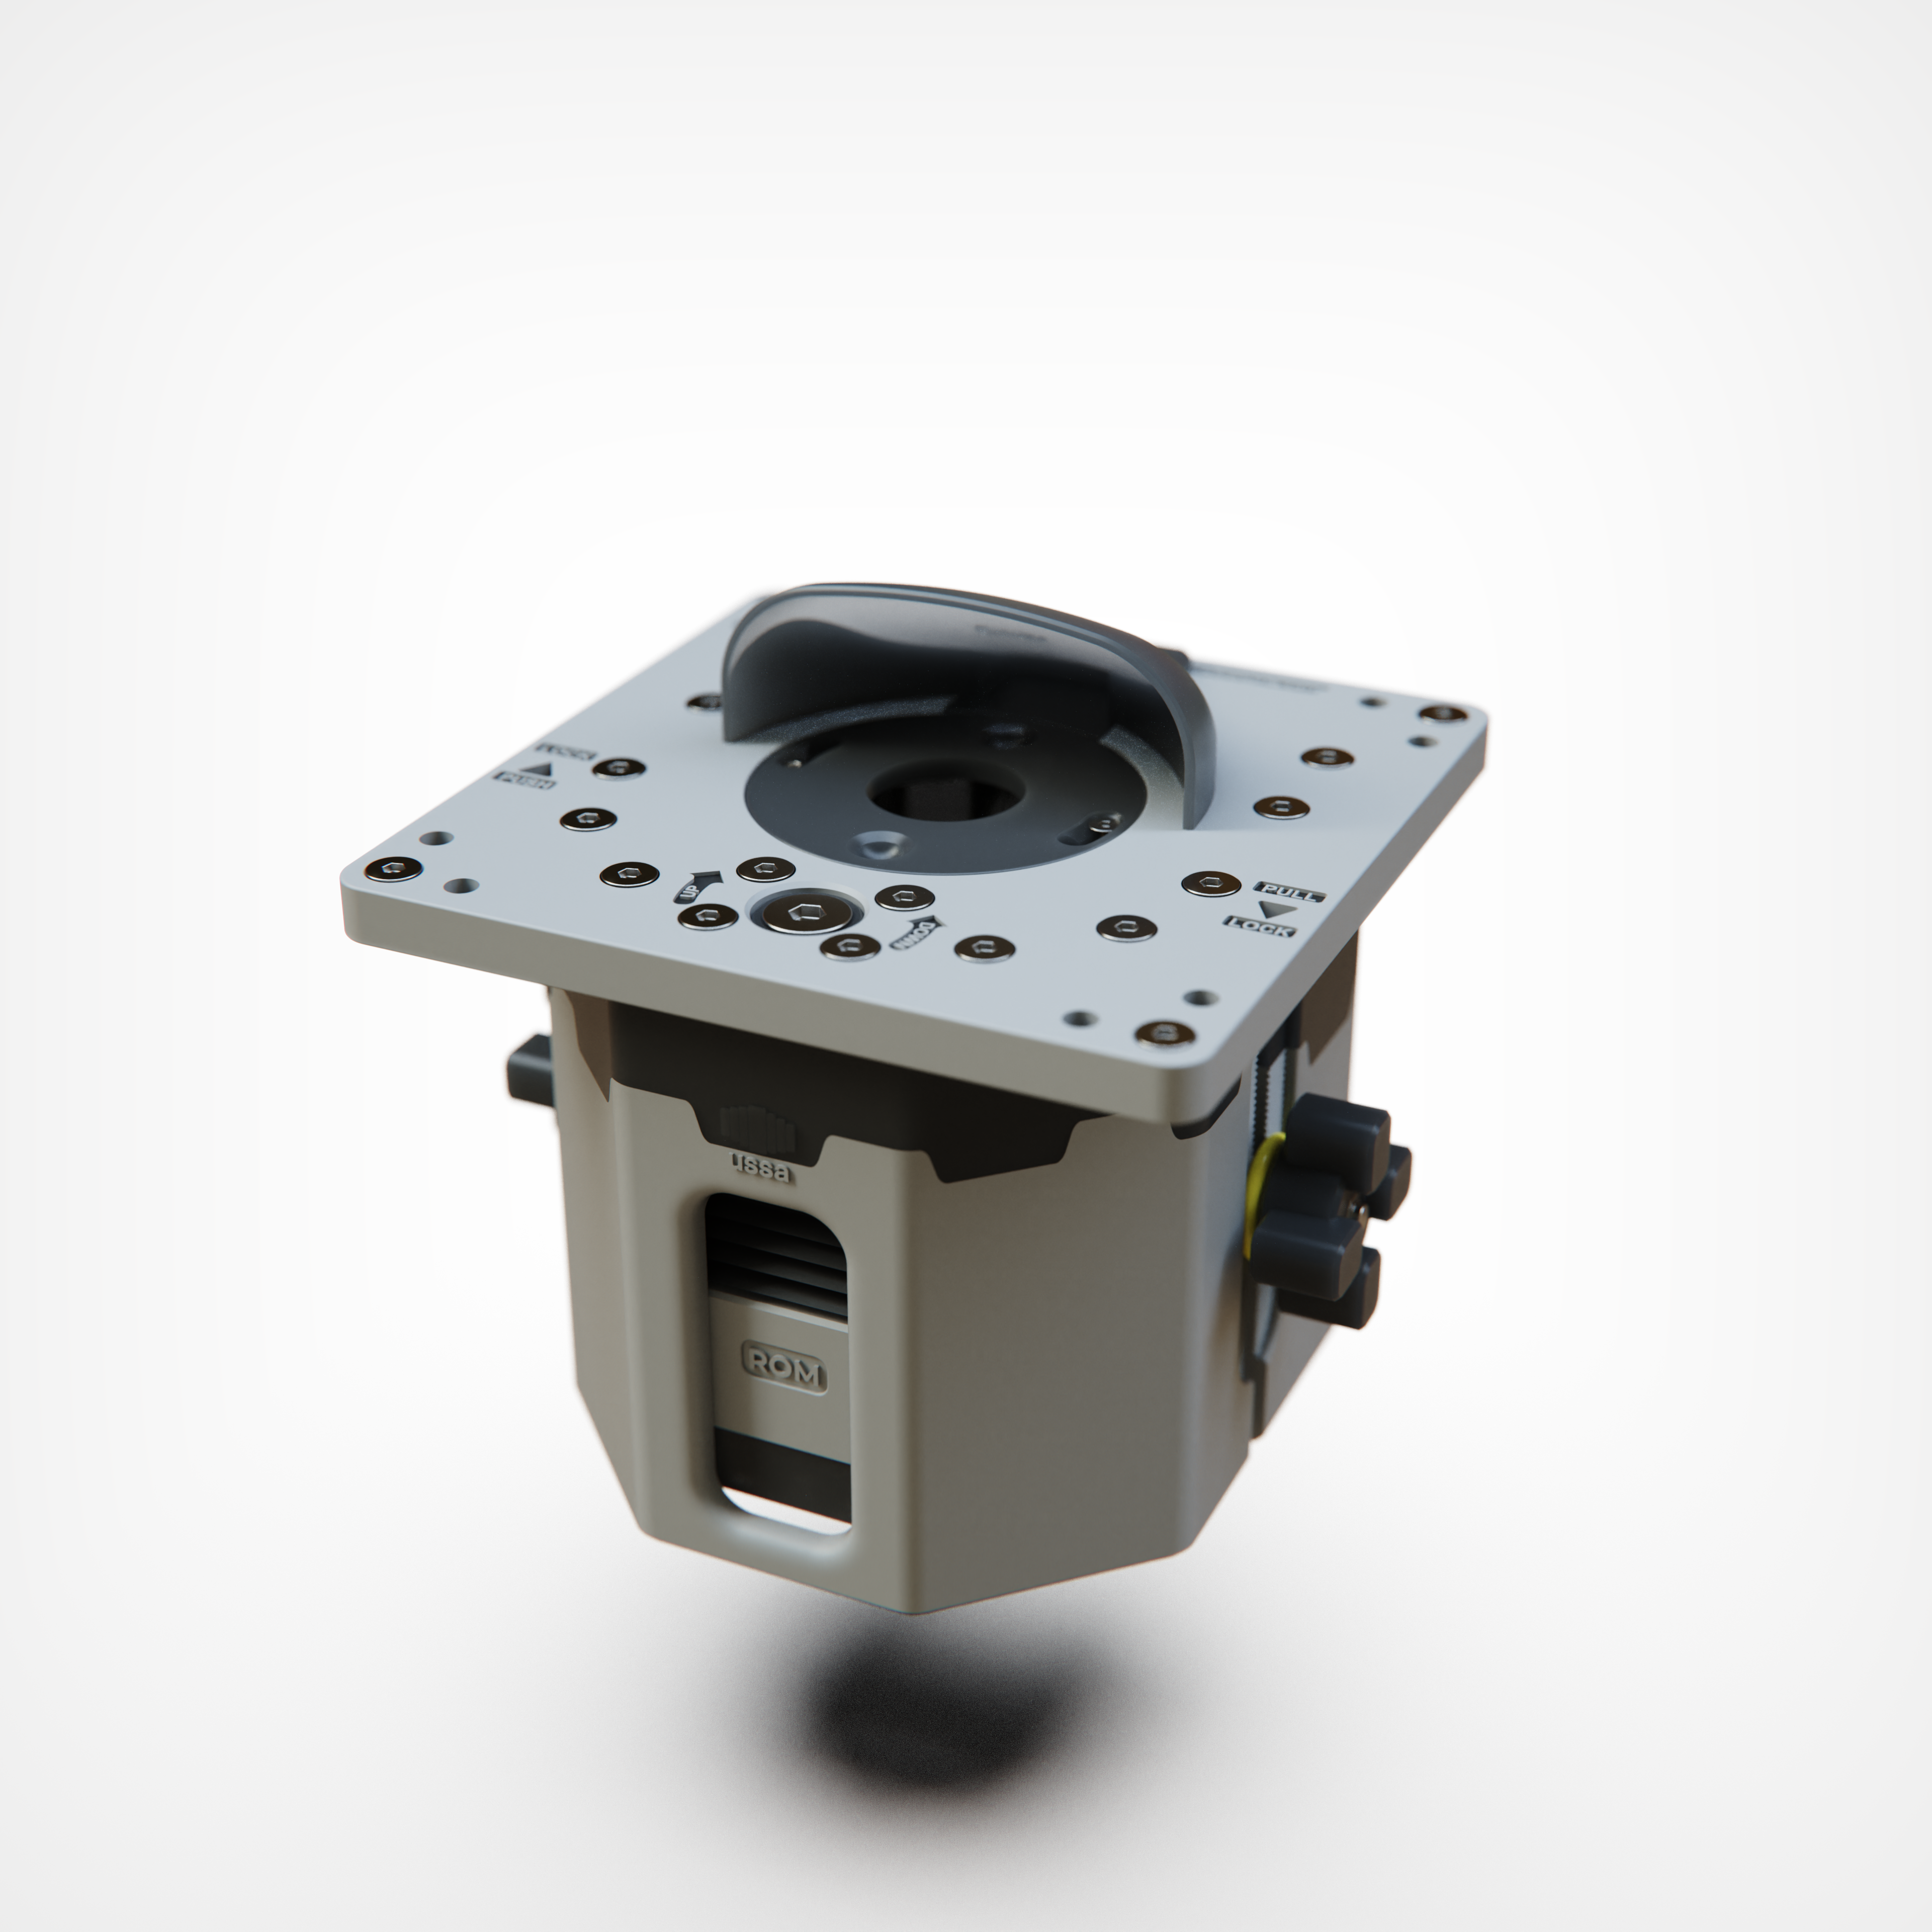
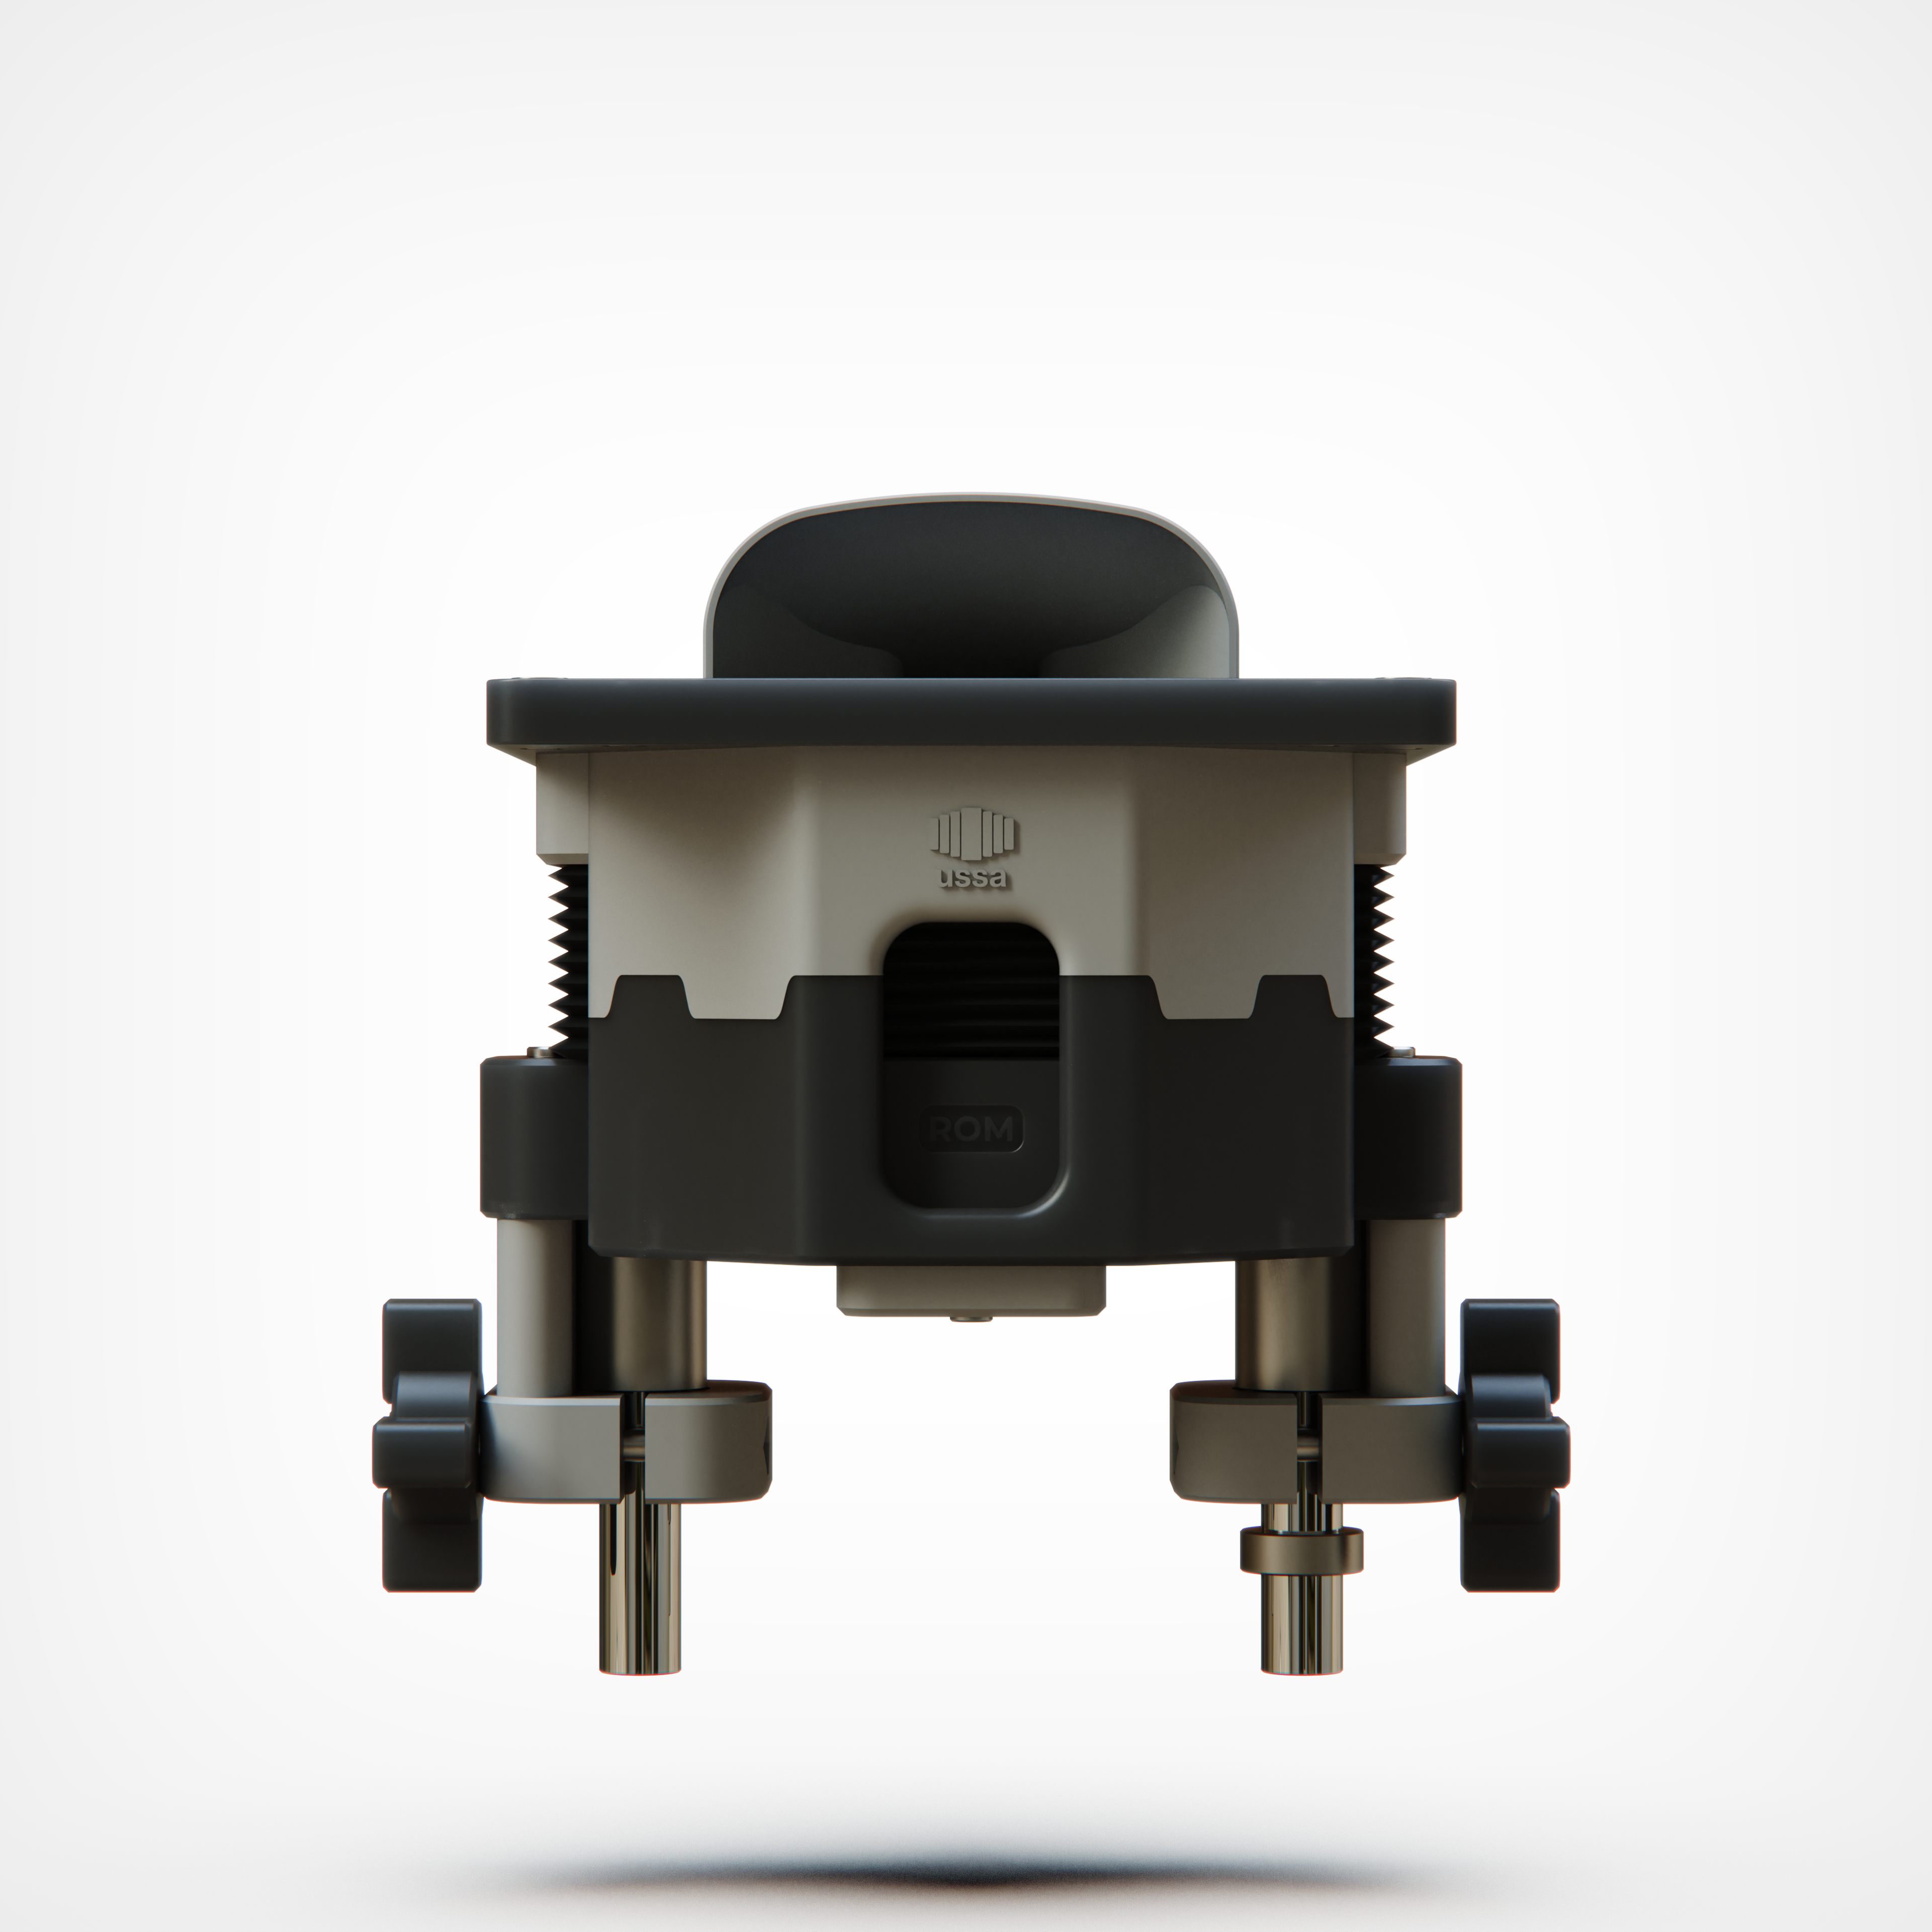
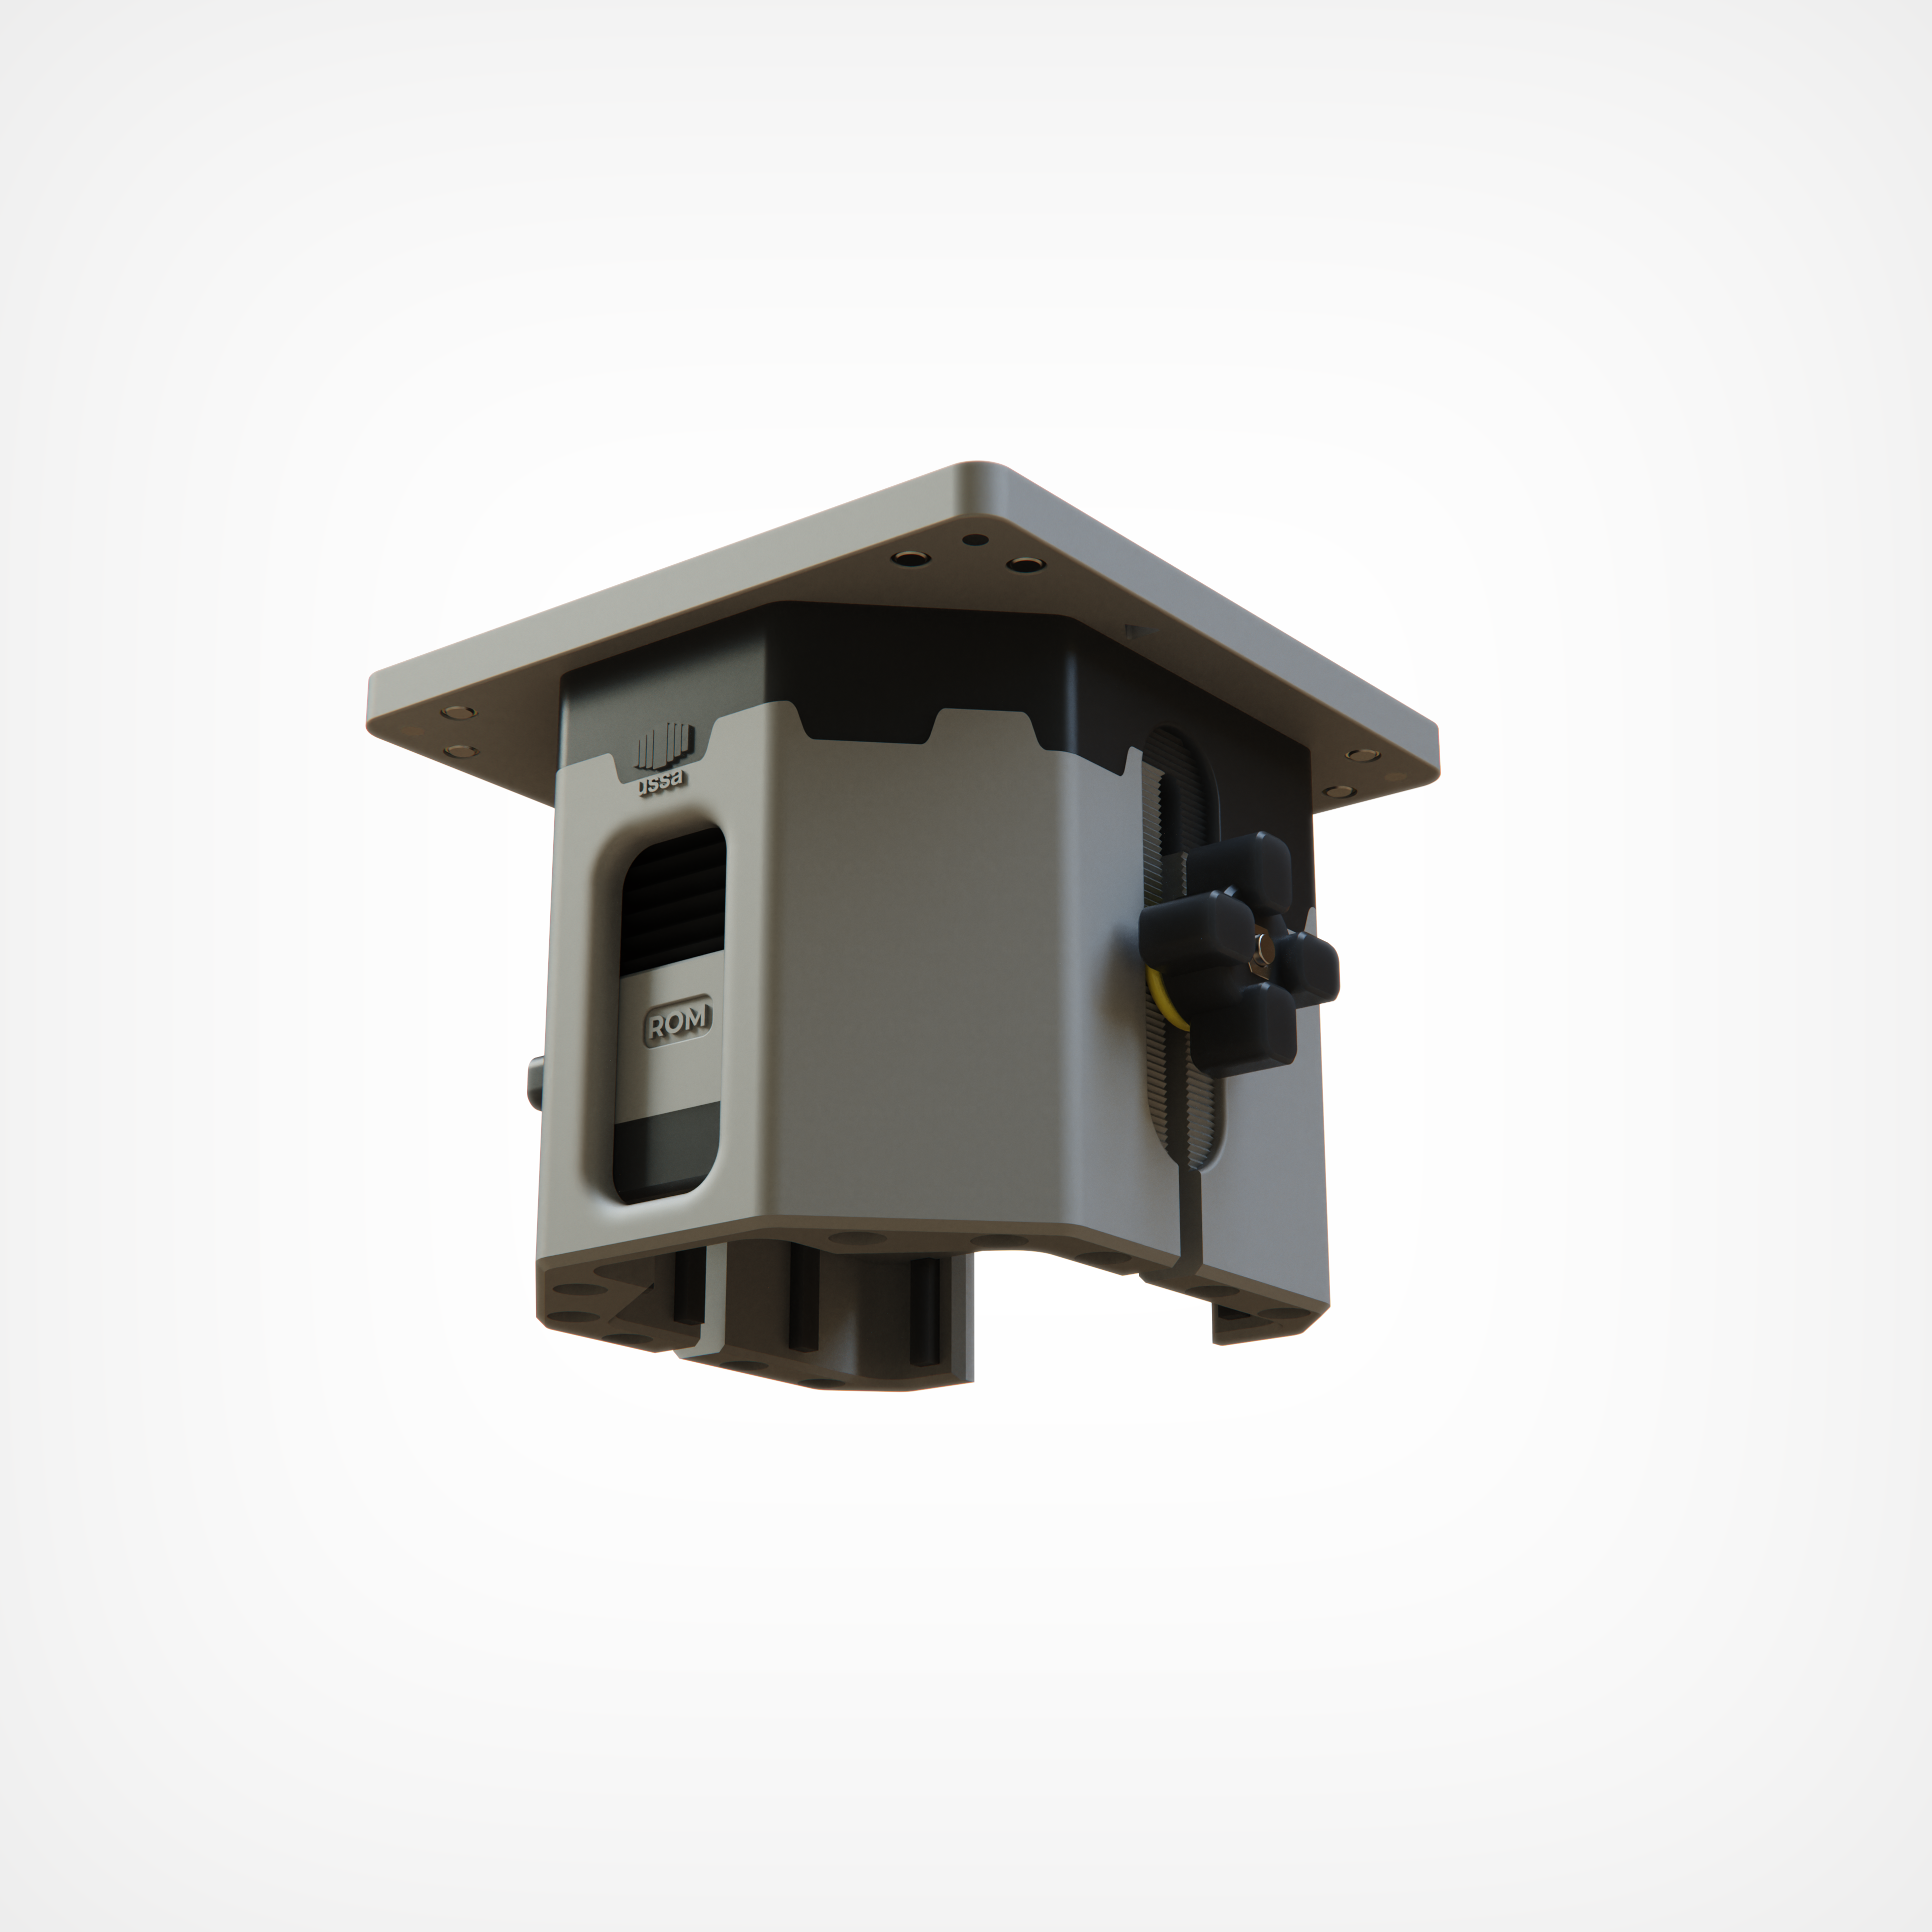
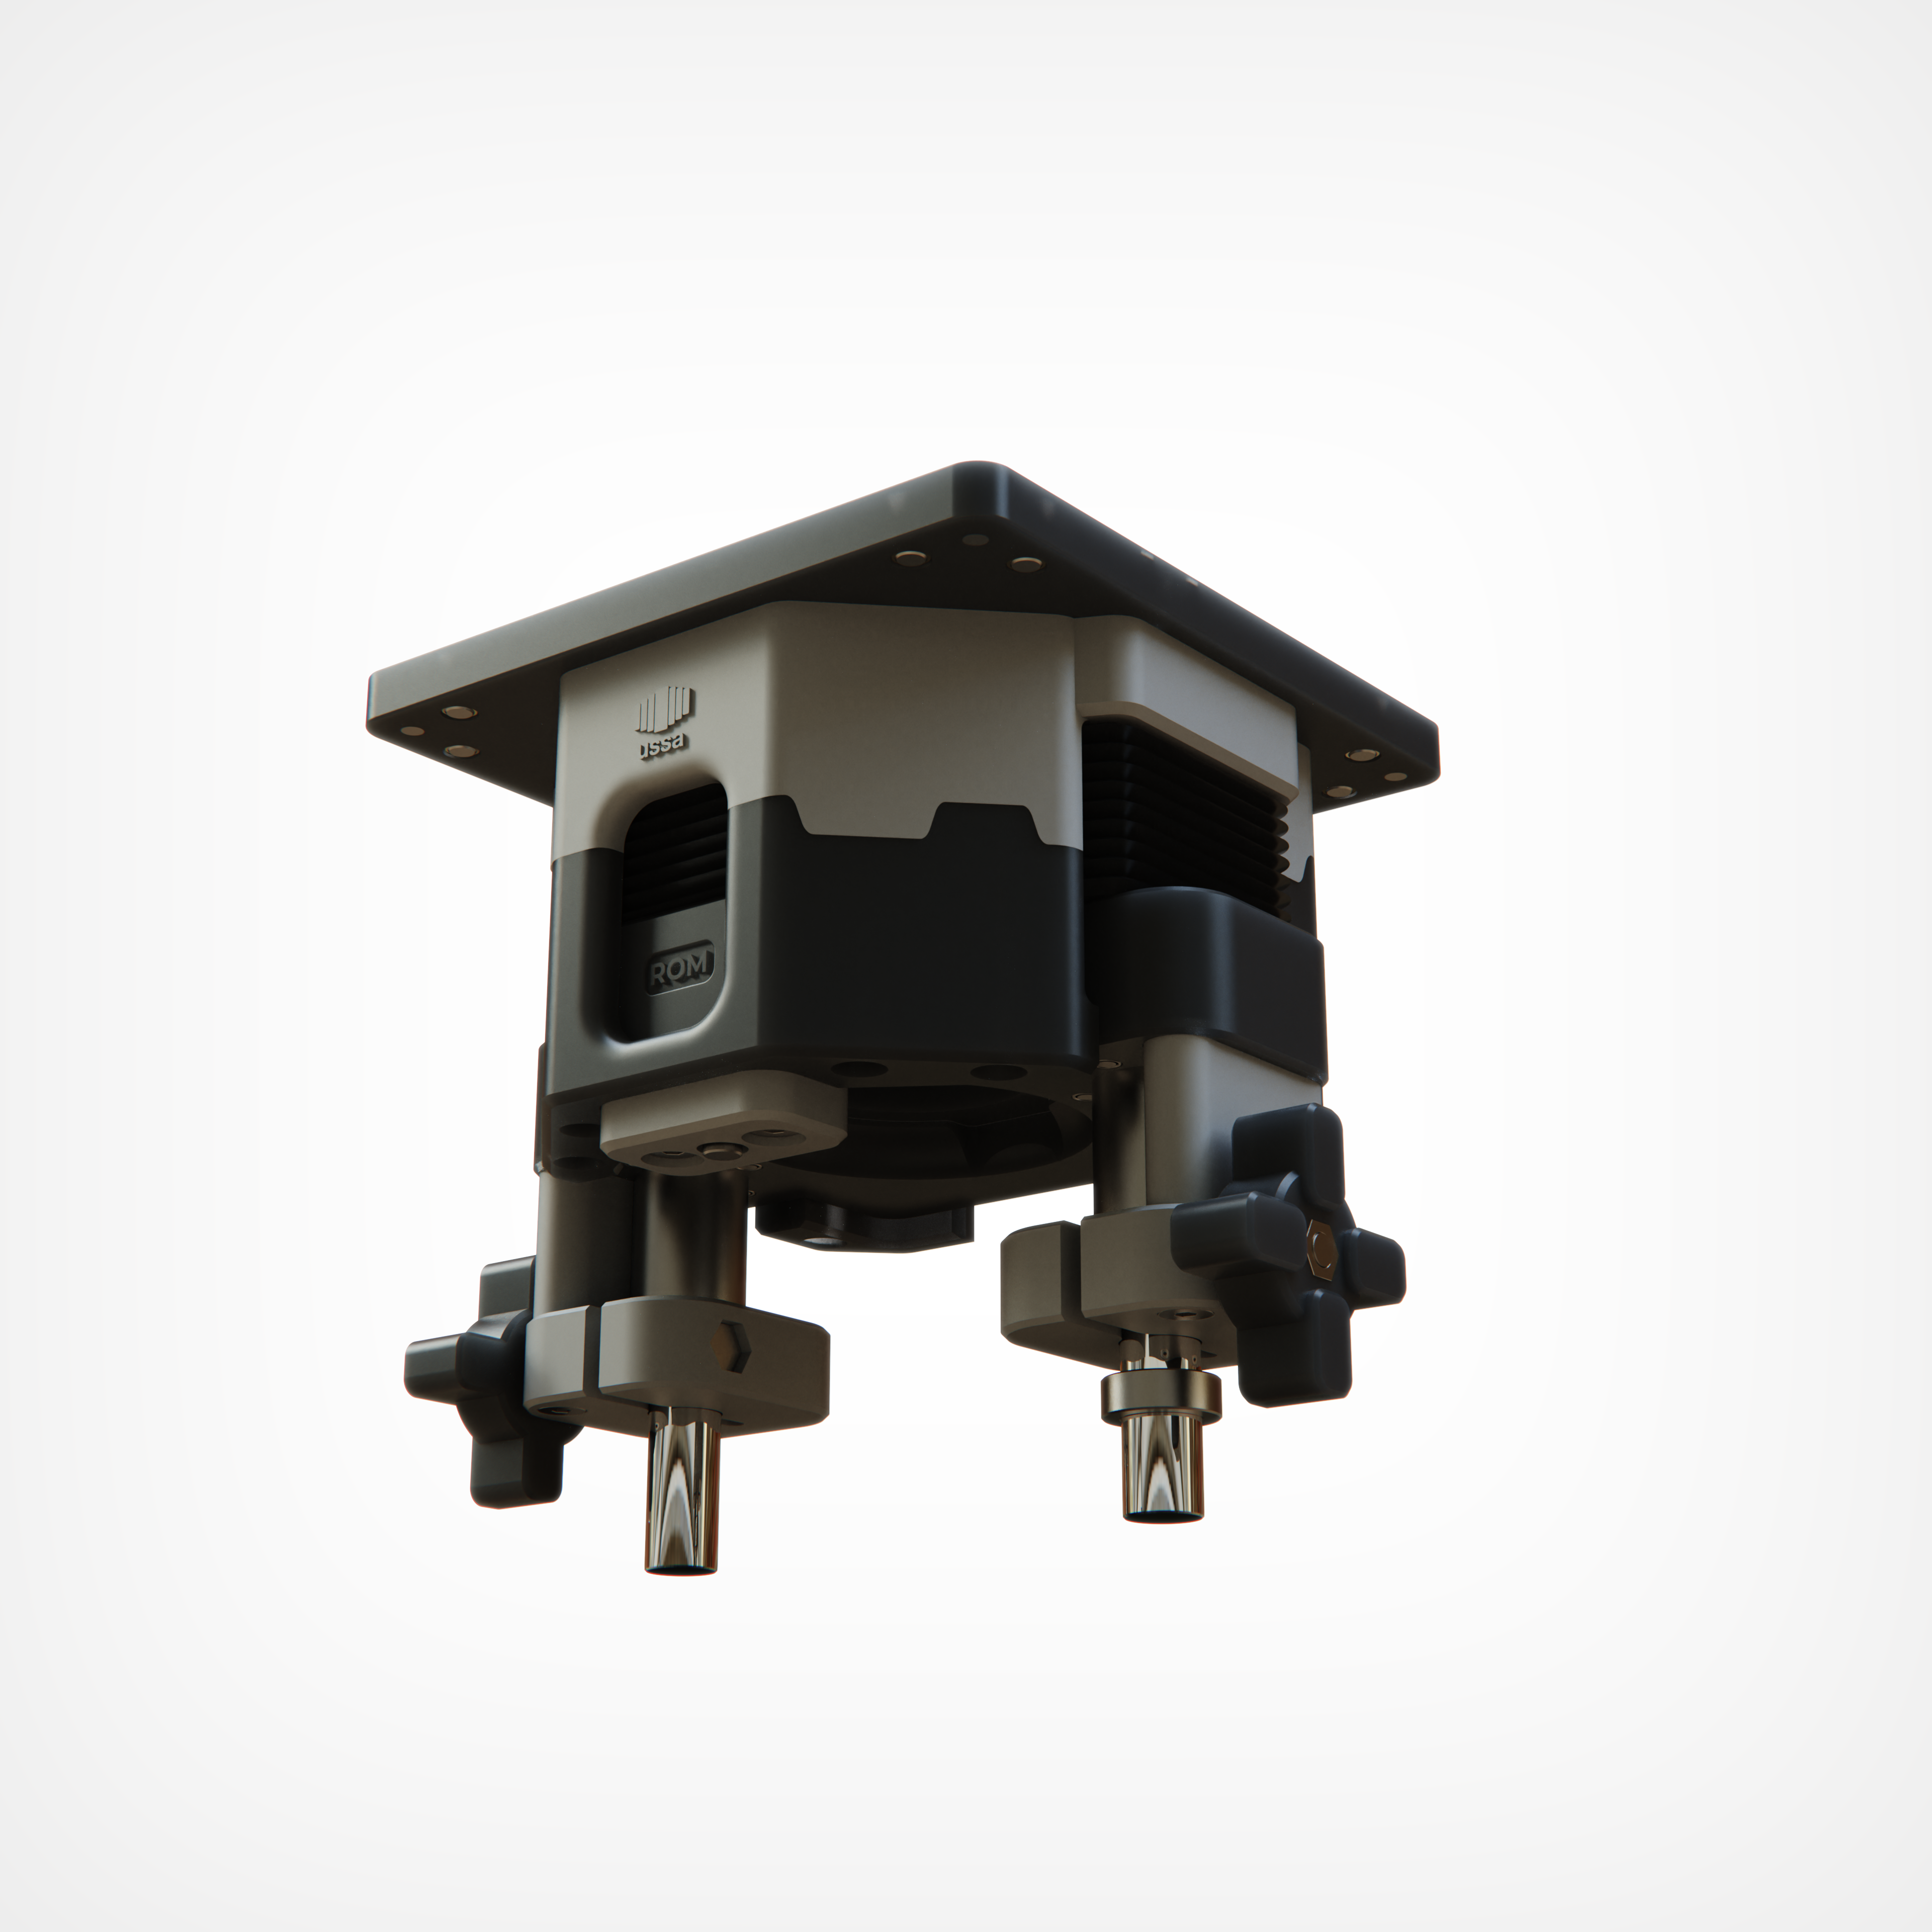
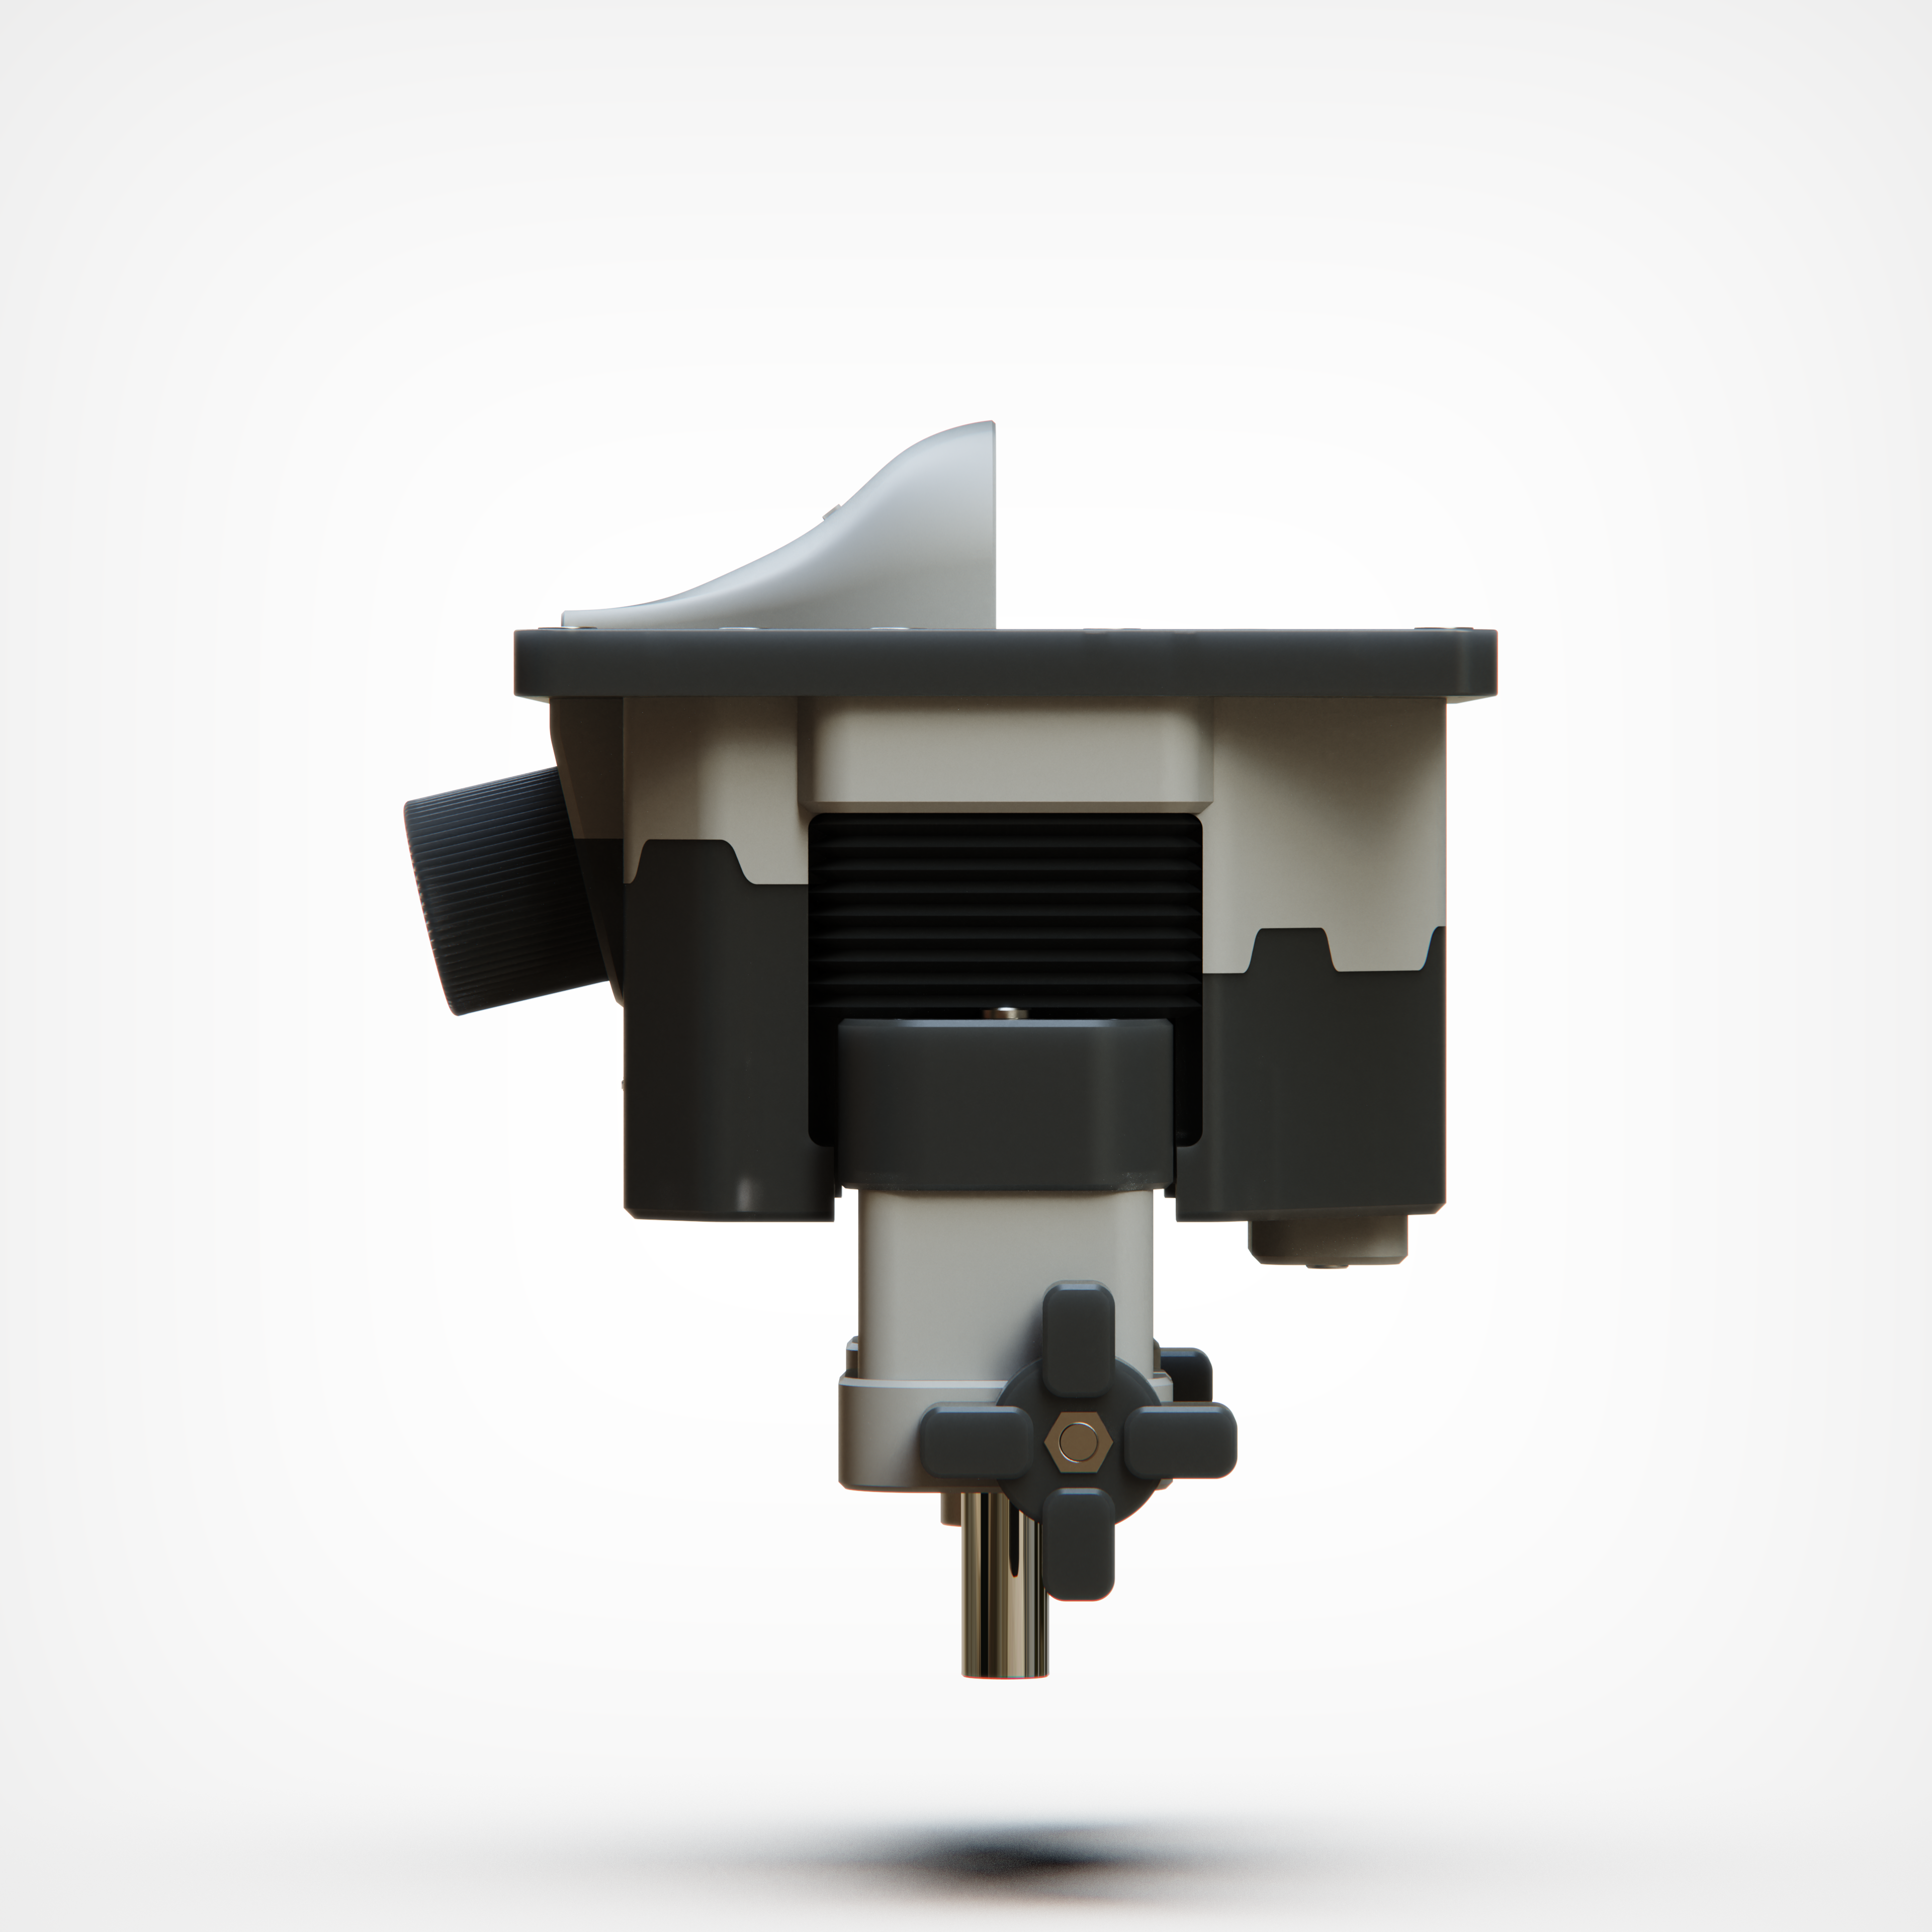
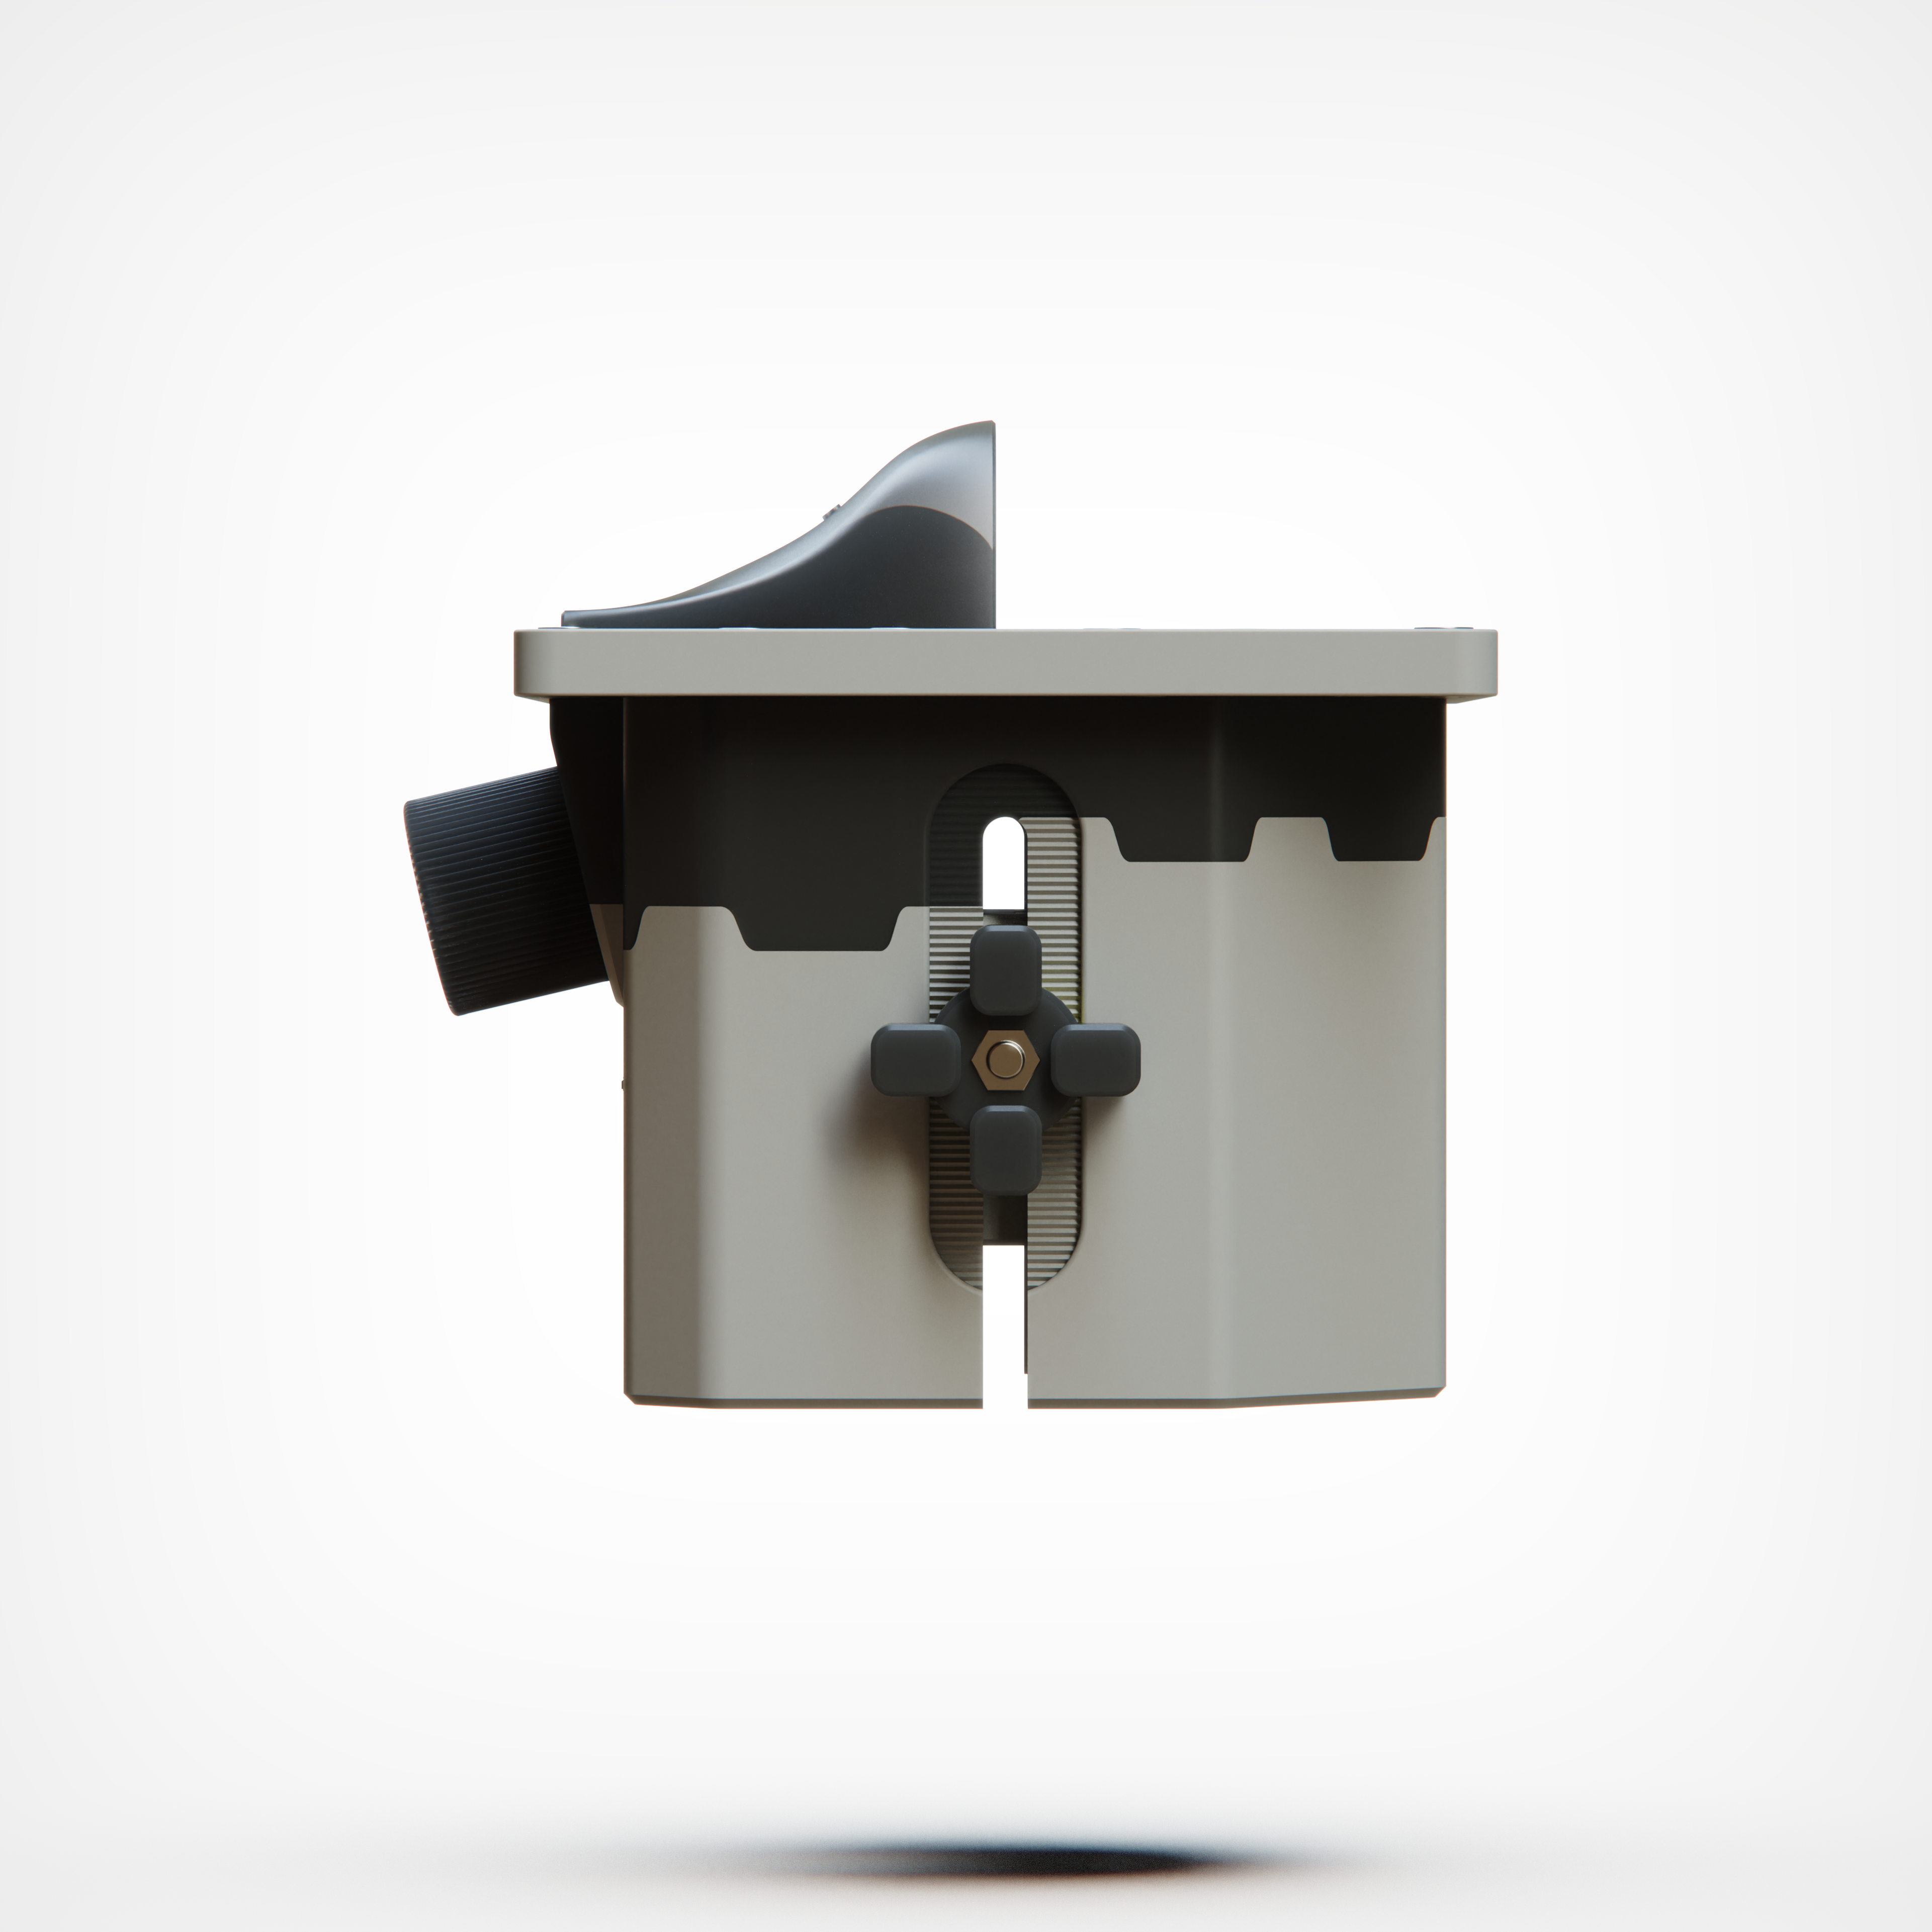
"I love the design of the router lift(s), and would completely recommend buying the plans if you're interested in taking up this project. If you're a beginner, tread lightly. If you have some experience with 3D printing, especially with TPU and threaded inserts, you got some soft/semisoft TPU on hand, etc. , this should be a breeze. I haven't been able to complete the build yet, because a) it's just a lot to print and I still need to order / print some hardware (screws, threaded inserts, soldering iron attachments etc. ), and b) I've been running into some problems, especially when printing the TPU "bellows" parts. A bit more guidance as to how to print and assemble the parts would be nice (recommended filament, used colors, print settings, required build volume, grease, etc. ), as well as a bill of materials on the shop page before purchasing the product (including recommended TPU filament). As the other review mentioned, the bill of materials is incorrect, but it's easy enough to figure out what parts you need. I have decided to print both the ROM and ROM Pro router lift, to compare the two, and to have have a spare unit that I'll be giving to my local maker space. When printing the TPU bellows with 2 walls, using Extrudr Flex Semisoft 85a filament, the "spring" resistance seems just right in order to not interfere too much with the lift mechanism, but has poor durability, meaning some of the walls will rip immediately (usually the sharp inside edges - a slight modification of the design for more strength inside those folds might help). A harder TPU, like the Bambu 95a, will not work here. Make sure to set infill to 0%, otherwise your print will be useless. When printing with 3 walls, you get some more durability, but the "spring" resistance becomes considerably higher. I highly recommend setting the seam position to "random", because having all the seams on top of each other WILL cause problems (the seam will form into a "blob" and the nozzle will bump against it with each pass, causing the print to wobble and likely leading to failure). You can use the "Seam painting" tool in Bambu to hide the seams on one side while still scattering them to prevent printing problems (see pictures). I haven't found a way to print the "17_TPU. stl" without the unnecessary tube in the middle, which wastes material and increases print time. Another oversight, in my opinion, is that the router table plate is just slightly too large. I can't print it with my Bambu A1 Mini (naturally), but it doesn't fit on the Prusa Core One, either (bed size is 250mm x 220mm, which -in theory- should fit the plate, which is exactly 220mm wide). When loading the STL into Prusa Slicer, the plate is just slightly too big. When you're in a pinch, you could just cut off like 1mm from the model inside the slicer, but that means that it may not fit snugly into the pocket in your router table. I can't really blame the creator for that, but for future projects you may want to leave a small wiggle room. Lastly, the bottom of lifting part of the ROM version (12. stl) is not entirely flat, which will cause the print to fail or turn out bent (I have attached some pictures). One possible solution is to flip the model, which will require you to add a whole lot of supports and may cause the part that attaches the router to not sit flush. The other solution is to use the "Cut" tool in Bambu Studio to cut off 0,4mm of the bottom of the model, so it is actually sitting flat on the printing bed. This is probably the one part where the tolerances are most important, so I likely need to re-print this part (300g of filament and ~8h print time). Despite all these issues, I'm still satisfied with the purchase (especially for the price) and am still confident that the router lift will end up working really nicely."